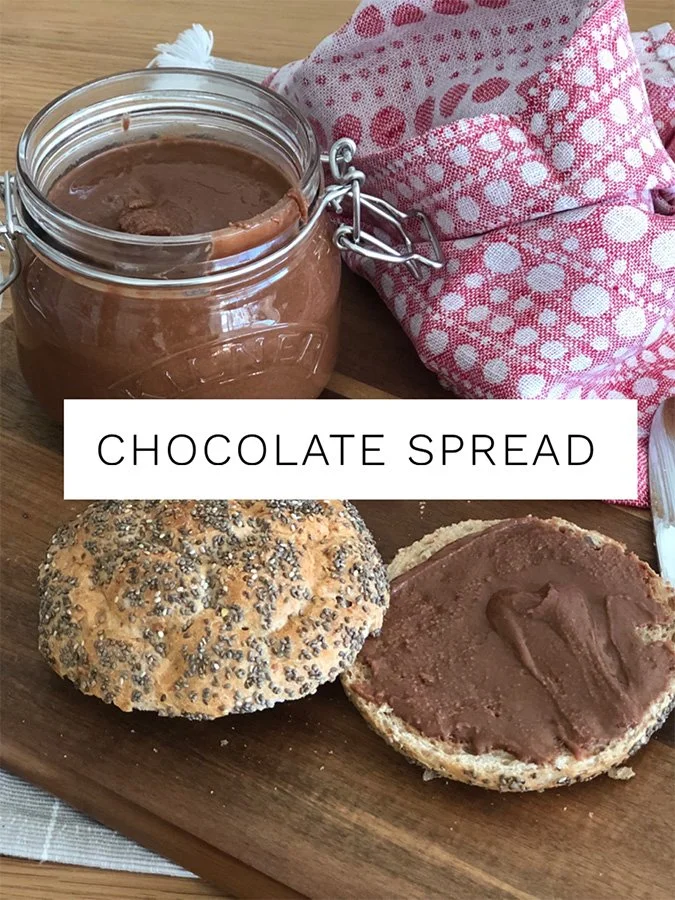
CHOCOLATE SPREAD

Who doesn’t like a good chocolate spread? Well I for sure do, and so does my family. But what I don’t like are shop bought chocolate spreads full of refined sugars and palm oils, so this simple version with no more than 4 ingredients solves all these problems.

Now before you say ‘but this is so much more expensive …’ - yes, I know. Hazelnuts are expensive so this home made version will cost you a bit more than the ones you find in the shop, but at least you know what is in it, and more importantly what has not been added in order to dilute the end product.

chocolate spread, healthy chocolate spread, vegan chcocolate, hazelnuts, healthy nutella
Snacks
Yield: 500g
Author: Beatrice Caffrey | The Nourished Bowl
Chocolate Spread

Chocolate Spread

Prep time: 15 MinTotal time: 15 Min
Delicious homemade vegan chocolate spread. Free of palm oil, refined sugar and gluten, this is better than any shop bought version.

Ingredients

  • 500g hazelnuts
  • 4 tbsp maple syrup
  • 2 tbsp organic raw cacao powder

Instructions

  1. Please read all the recipe notes further down to ensure you get a successful end product!
  2. Heat oven to 160C/320F.
  3. Spread hazelnuts out on a baking sheet and roast in the hot oven for about 15 minutes. Check half way through that the nuts are not burning and give the tray a little shake to ensure the nuts are roasting from all sides.
  4. Remove tray from the oven and let cool completely. (See notes, it’s important that the nuts are fully cool before putting them into your food processor/blender).
  5. Once cooled, add nuts to a high speed food processor and blend at high speed for about 60 seconds. The nuts will slowly turn into a smooth nut butter. If necessary, scrape down any nuts from the sides of the bowl.
  6. Leave to stand for about 60 seconds to let the blender cool down and the nut butter to release more oil.
  7. Blend again for another 60 seconds. You should now have a runny nut butter. It is important that you have this before you add any other ingredients. In order to really get the best result, at this stage I run the blender again for another 60 seconds.
  8. Add the maple syrup and turn the blender on again for 60 seconds so the nut butter is runny. 
  9. Finally add the cacao powder and mix again.
  10. Fill into a jar and keep in your food cupboard (to my experience, it is not necessary to keep it in the fridge). The chocolate spread will last up to 8 weeks.

Notes:

* I used blanched hazelnuts which I buy in bulk. If you are using hazelnuts with their skin still on, make sure you remove the skin after roasting and before blending. To do this, rub the nuts in a tea towel. * Please make sure the nuts are completely cool before adding them to the blender. The nuts become hot when turning into nut butter, and if the nuts are hot already, this can quickly break your blender by melting some of the parts (I speak from experience unfortunately). I will often now roast the nuts the day before I intend to use them. * I use a Vitamix 7500 blender for this nut butter. You can use a regular food processor too, it will just take a little longer until the nuts have turned into a creamy/runny nut butter and you may have to add a little neutral vegetable oil to help it along. * If you add the maple syrup and cacao powder before the nut butter is runny, you will end up with a spread that is very hard and difficult to spread. * If you like this chocolate spread and would like to save it to your Pinterest Board, please pin the image below. Thank you!
Did you make this recipe?
Tag @thenourishedbowl on instagram and hashtag it #thenourishedbowl
Previous
Previous

PUMPKIN PROTEIN BALLS

Next
Next

VEGAN CHEESE SAUCE